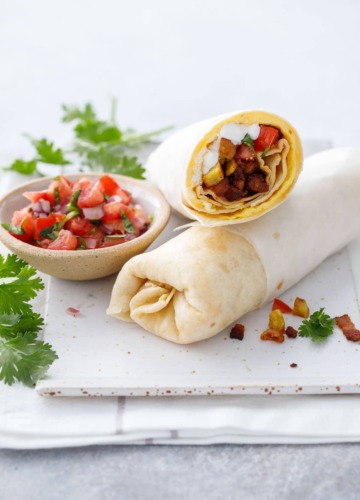
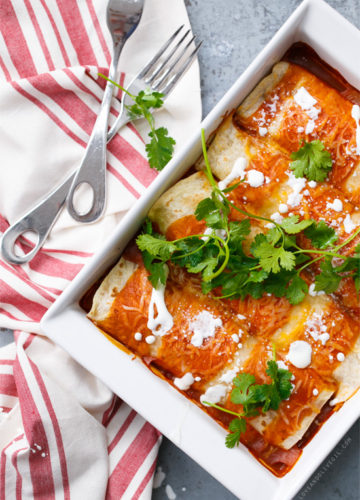
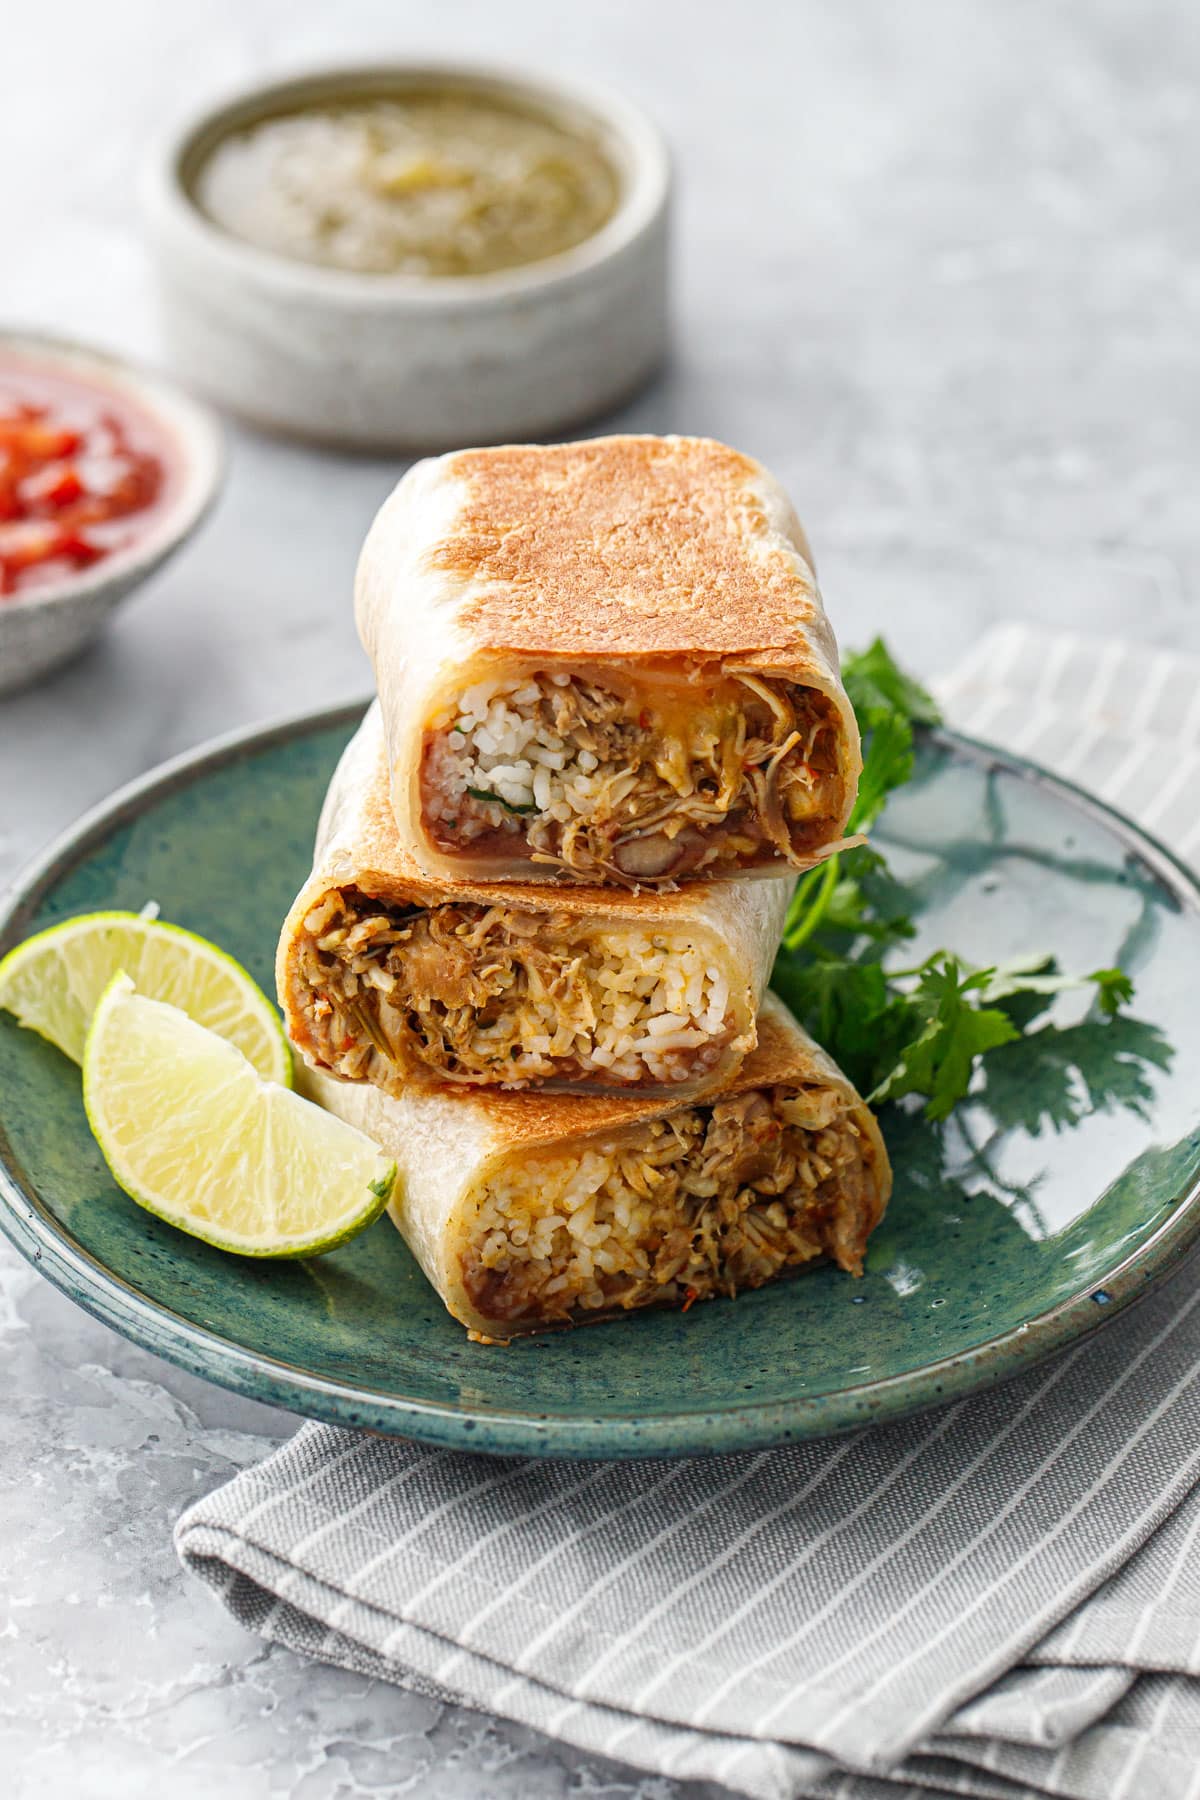
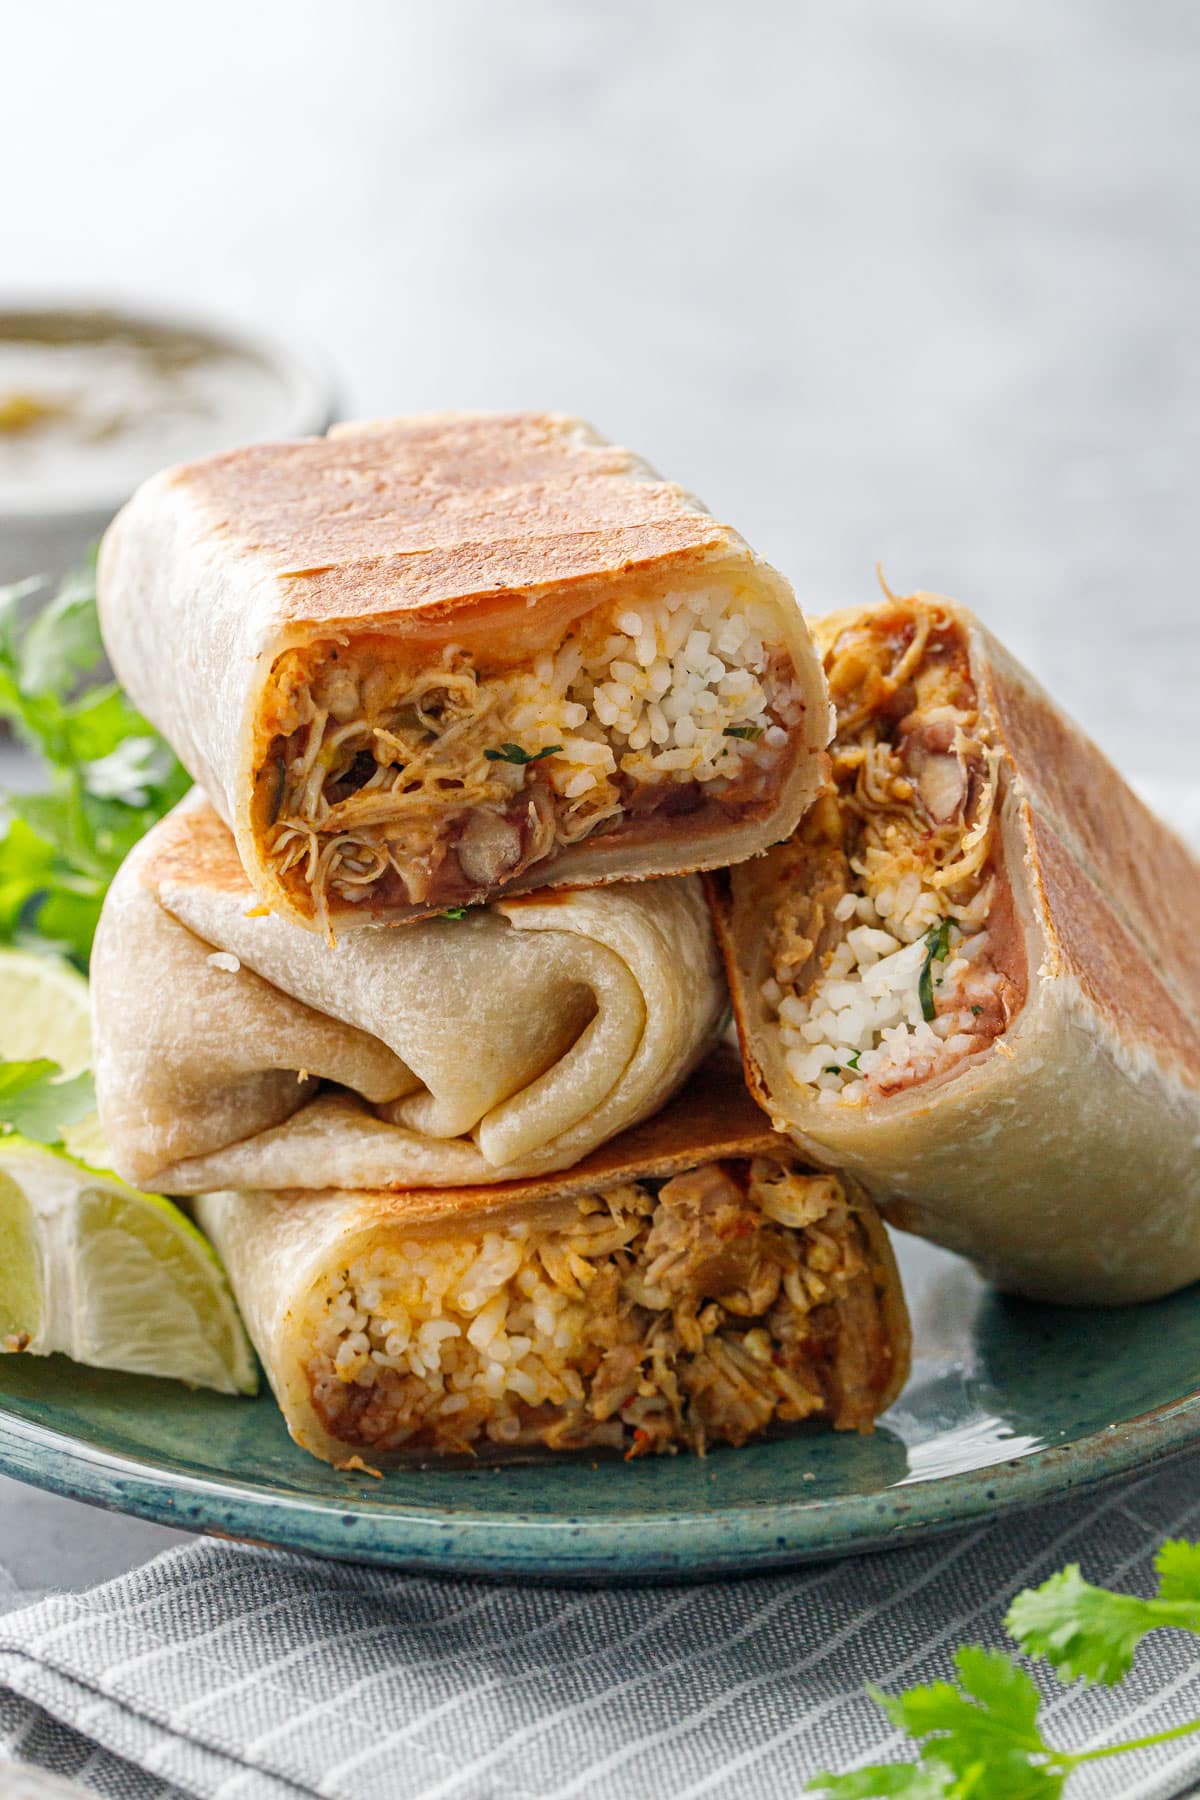
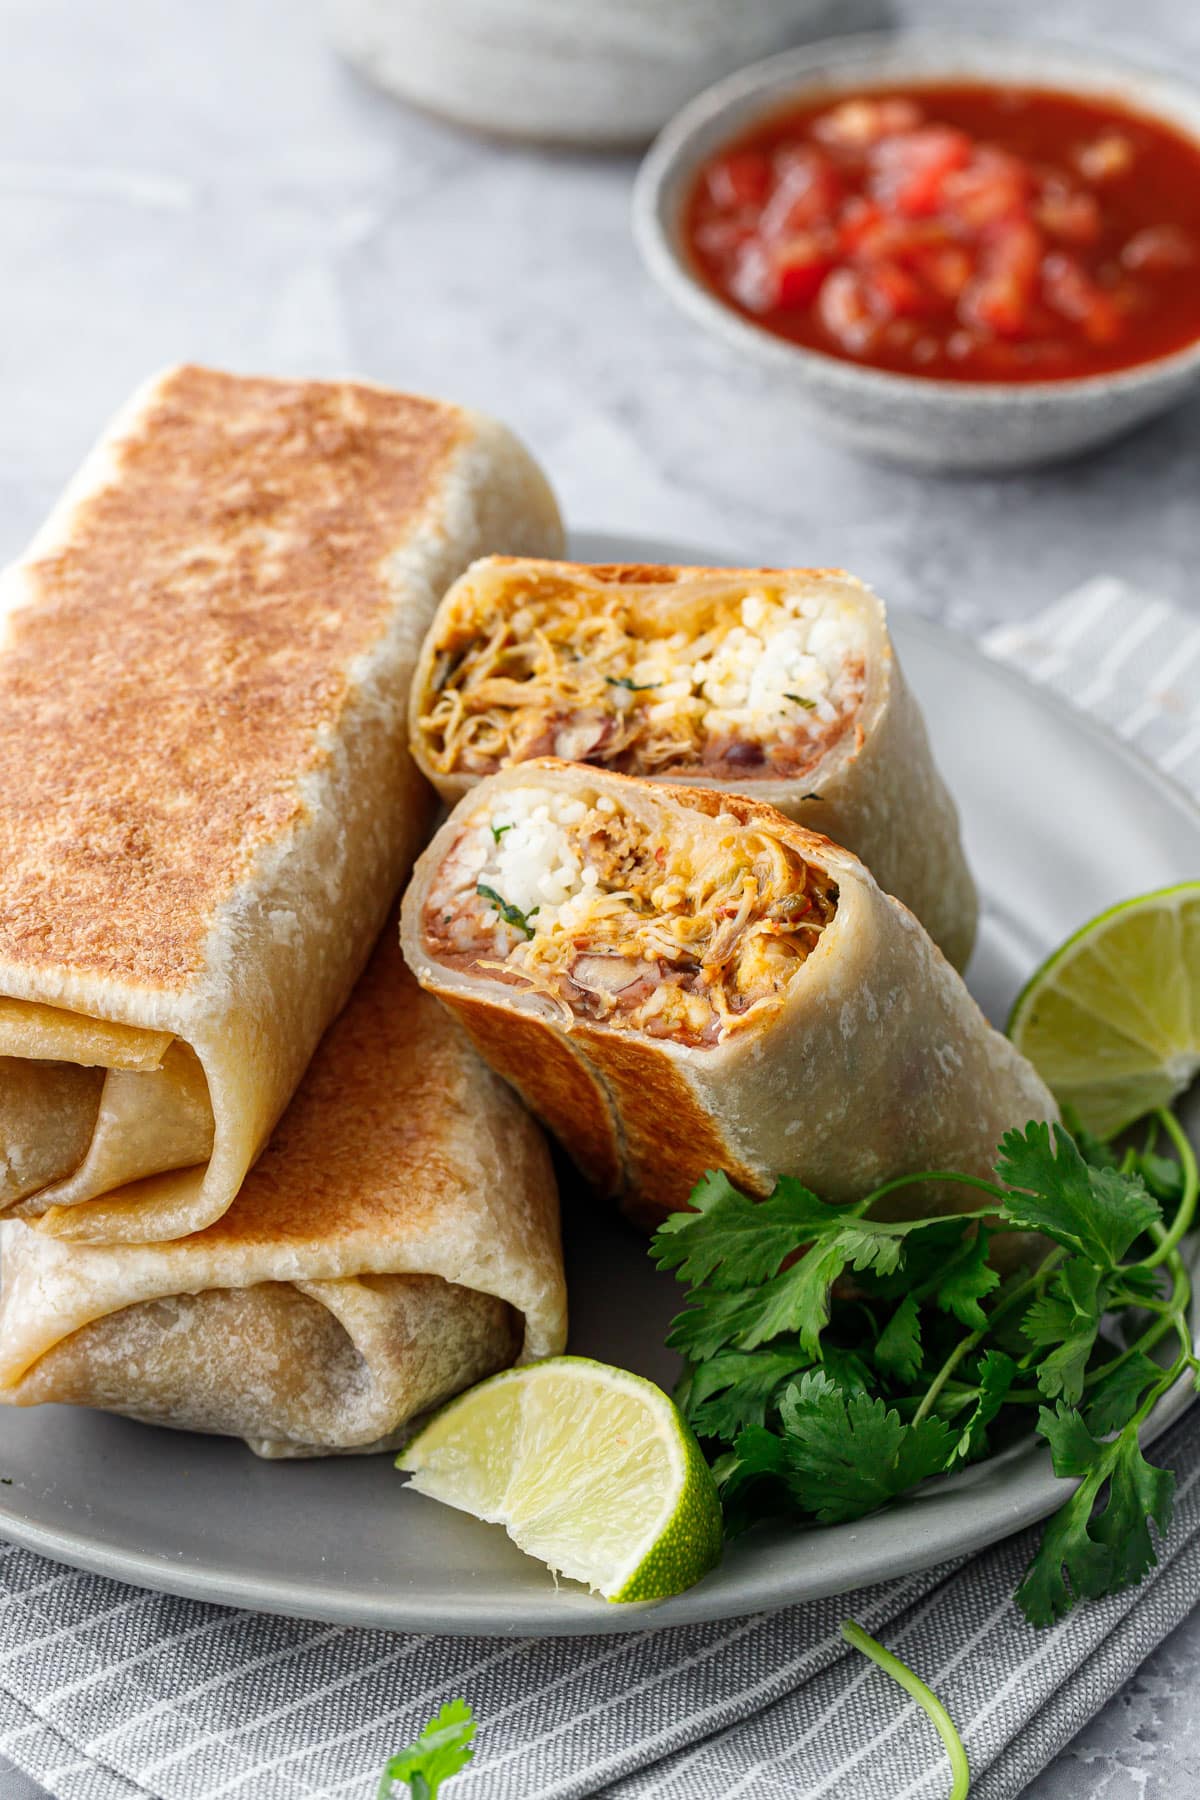
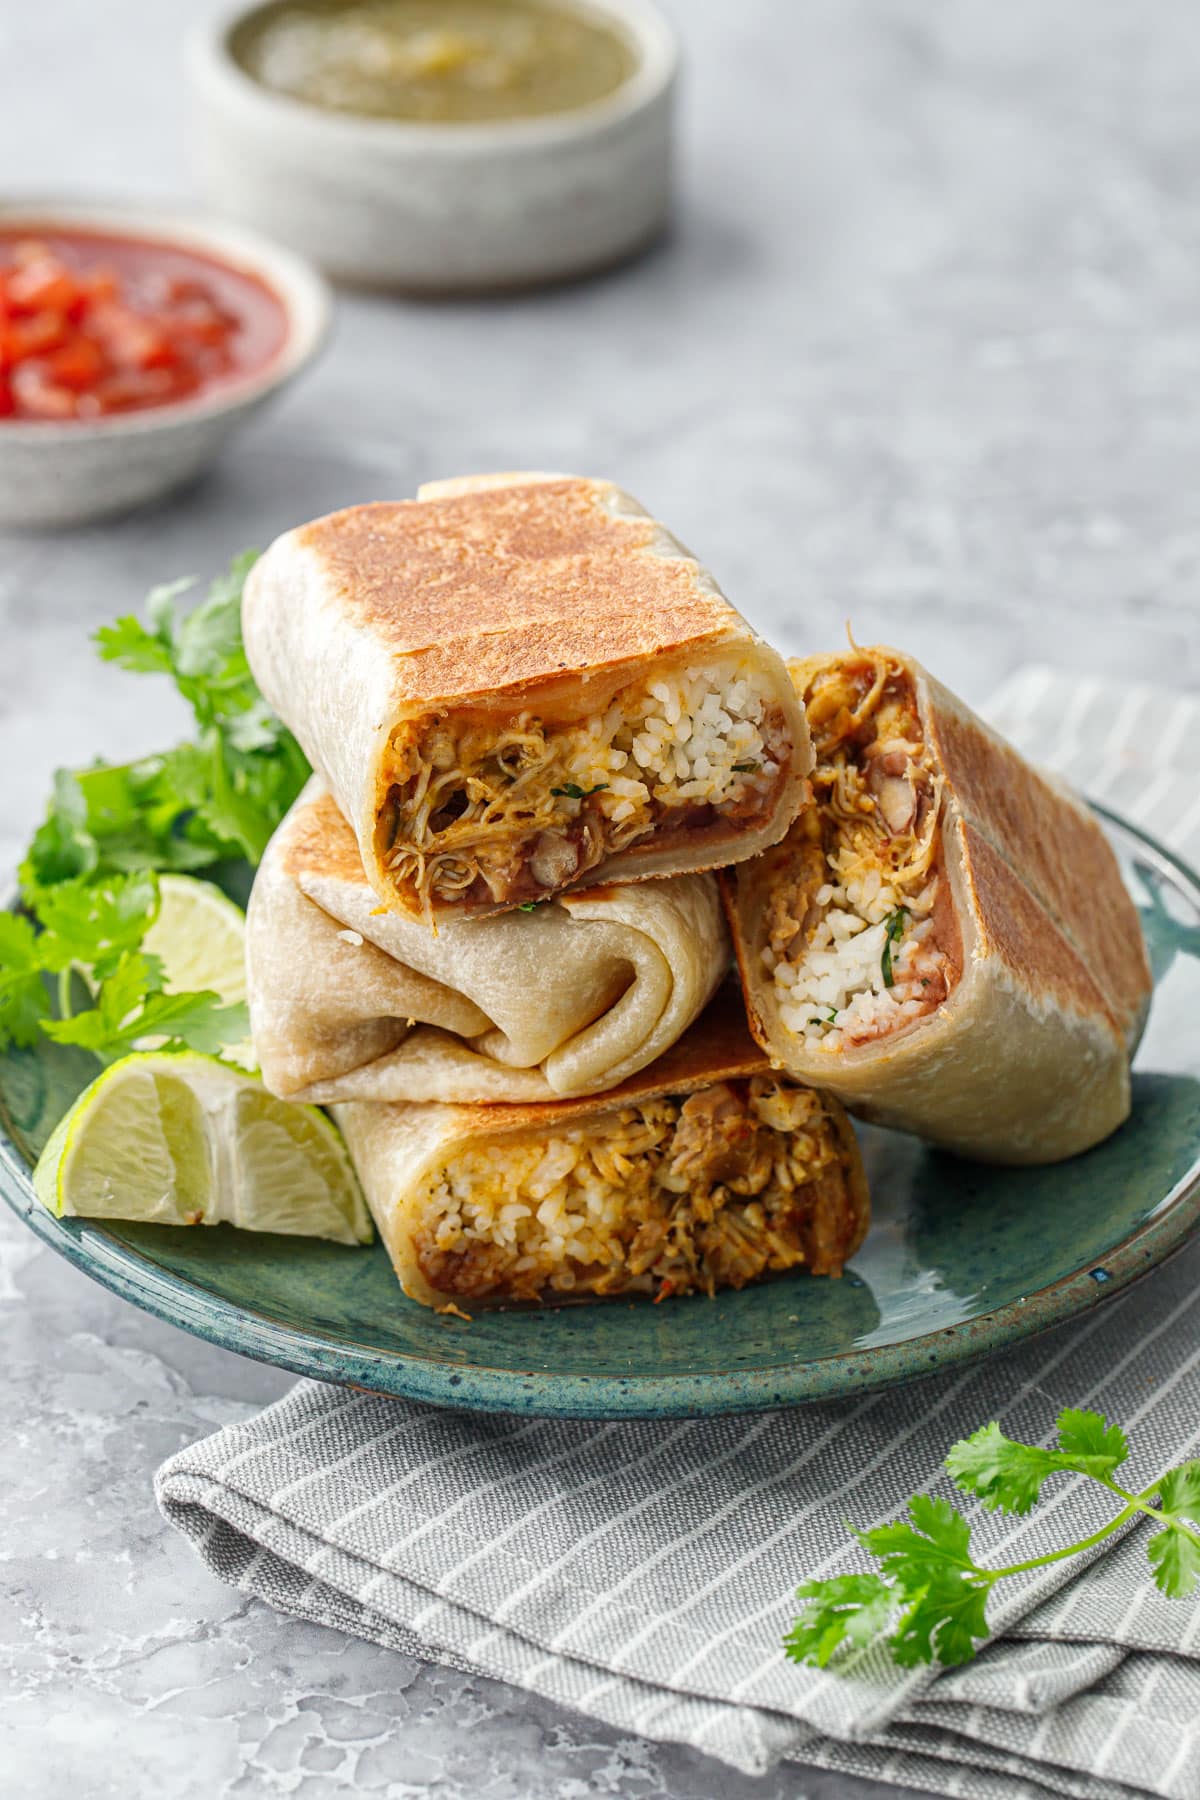
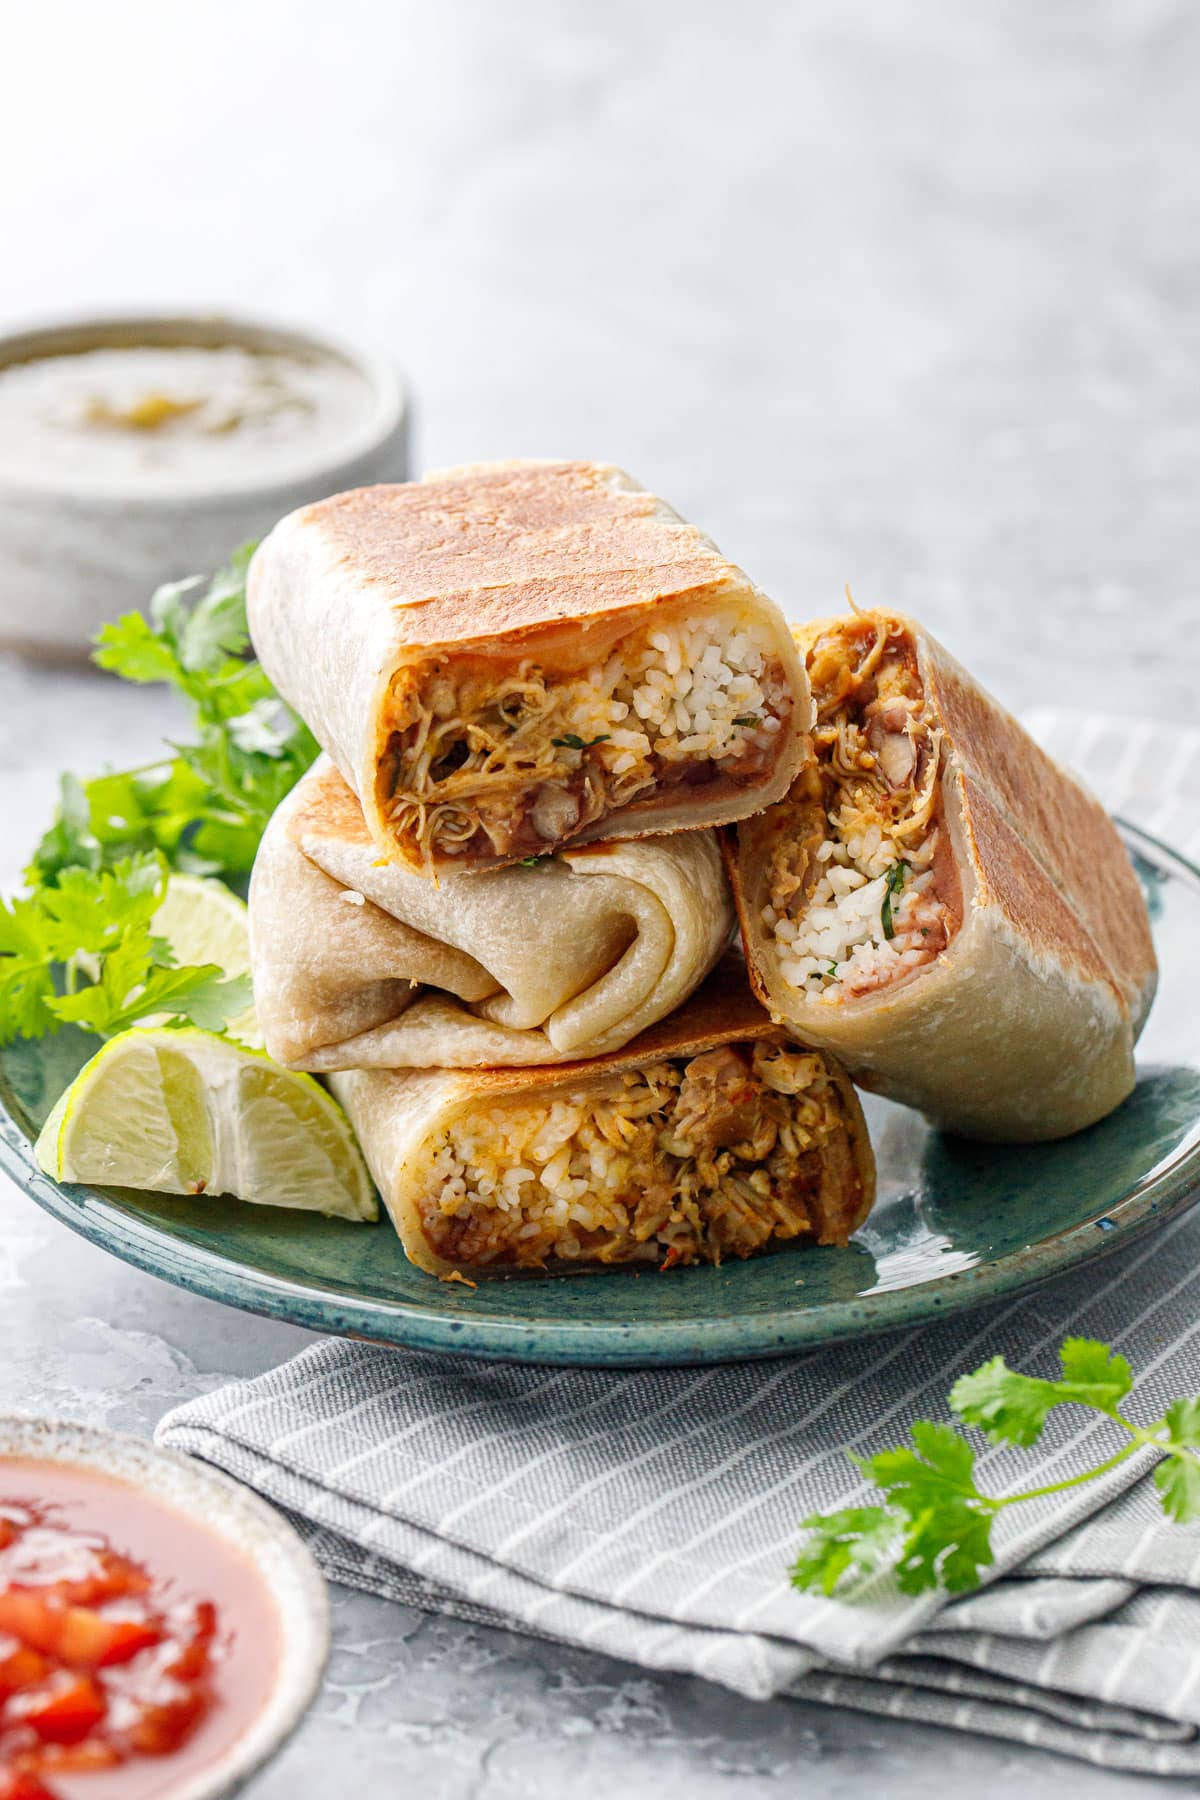
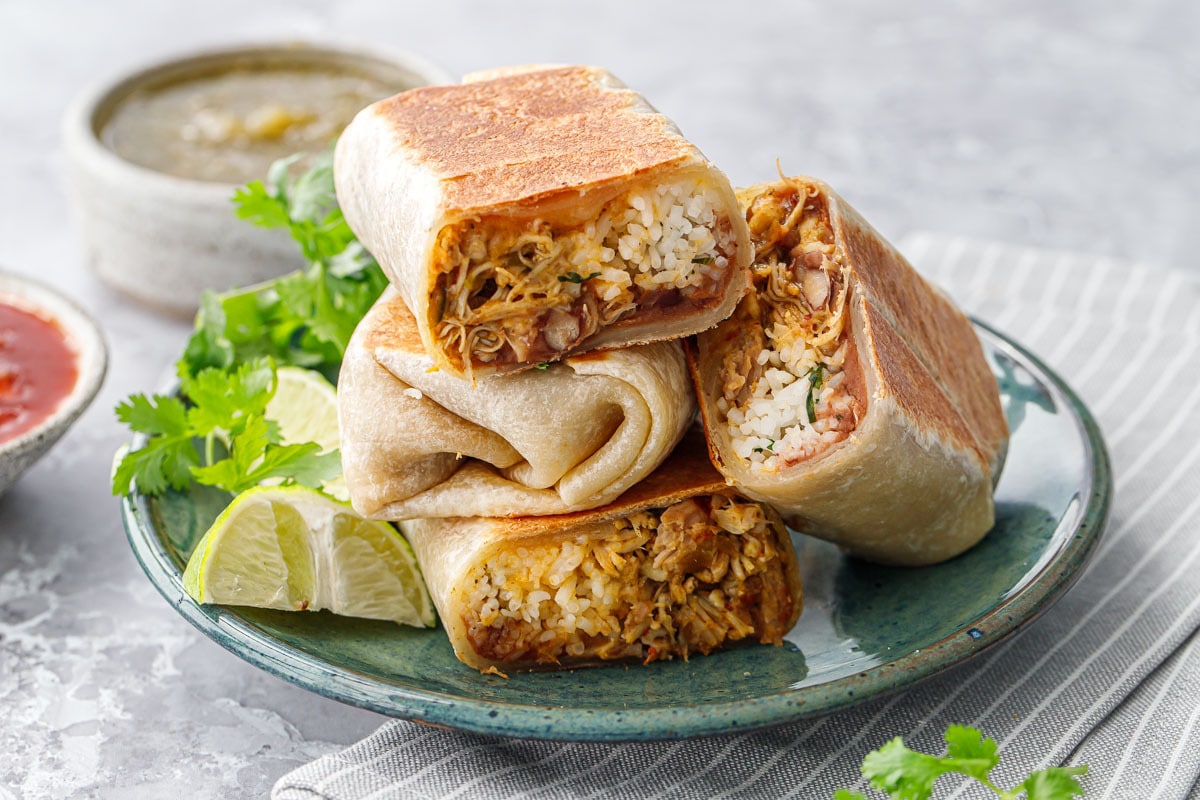
No more boring burritos: these are filled with saucy shredded dark-meat chicken, tangy cilantro rice, refried beans and melty cheese all rolled up in a soft flour tortilla and then pan-fried for a crispy, flaky finish.
These filling and flavorful chicken, rice, and bean burritos can be served right away or frozen for later (you’ll never be satisfied with a store-bought frozen burrito again!)
Frozen burritos are a staple in our house: easy to pull out and heat up when you just can’t bear the thought of cooking (it happens to all of us).
But the problem with most store-bought frozen burritos is that they just aren’t very good. Dry, chewy tortillas and a measly amount of bland filling… they’re just not satisfying in the least.
So we set out to make our own, with an ultra flavorful shredded chicken filling along with cilantro rice, refried beans, and plenty of melty cheese to top it all off.
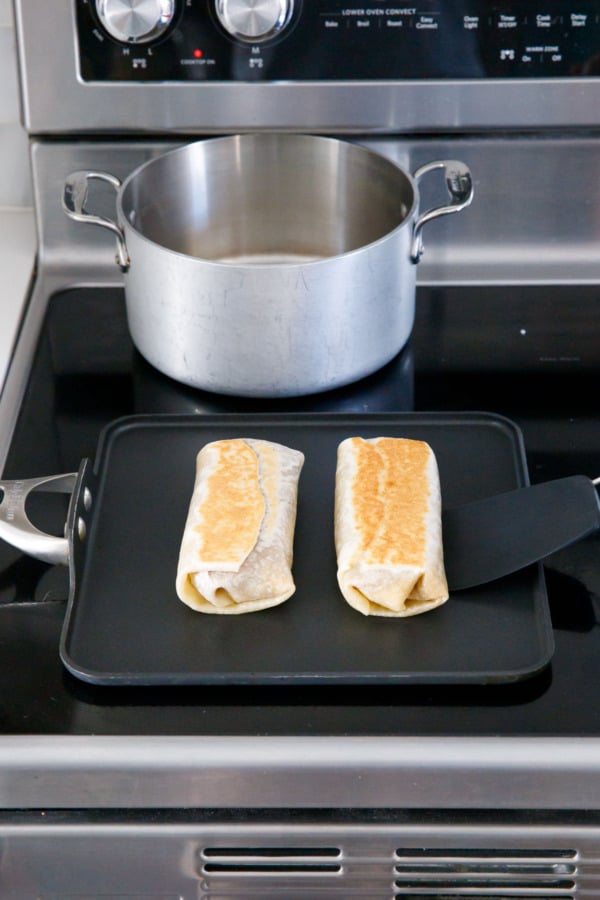
That alone would make for one satisfying burrito, but we took it one step further and toasted them, resulting in a flaky finish and an almost pastry-like crunch.
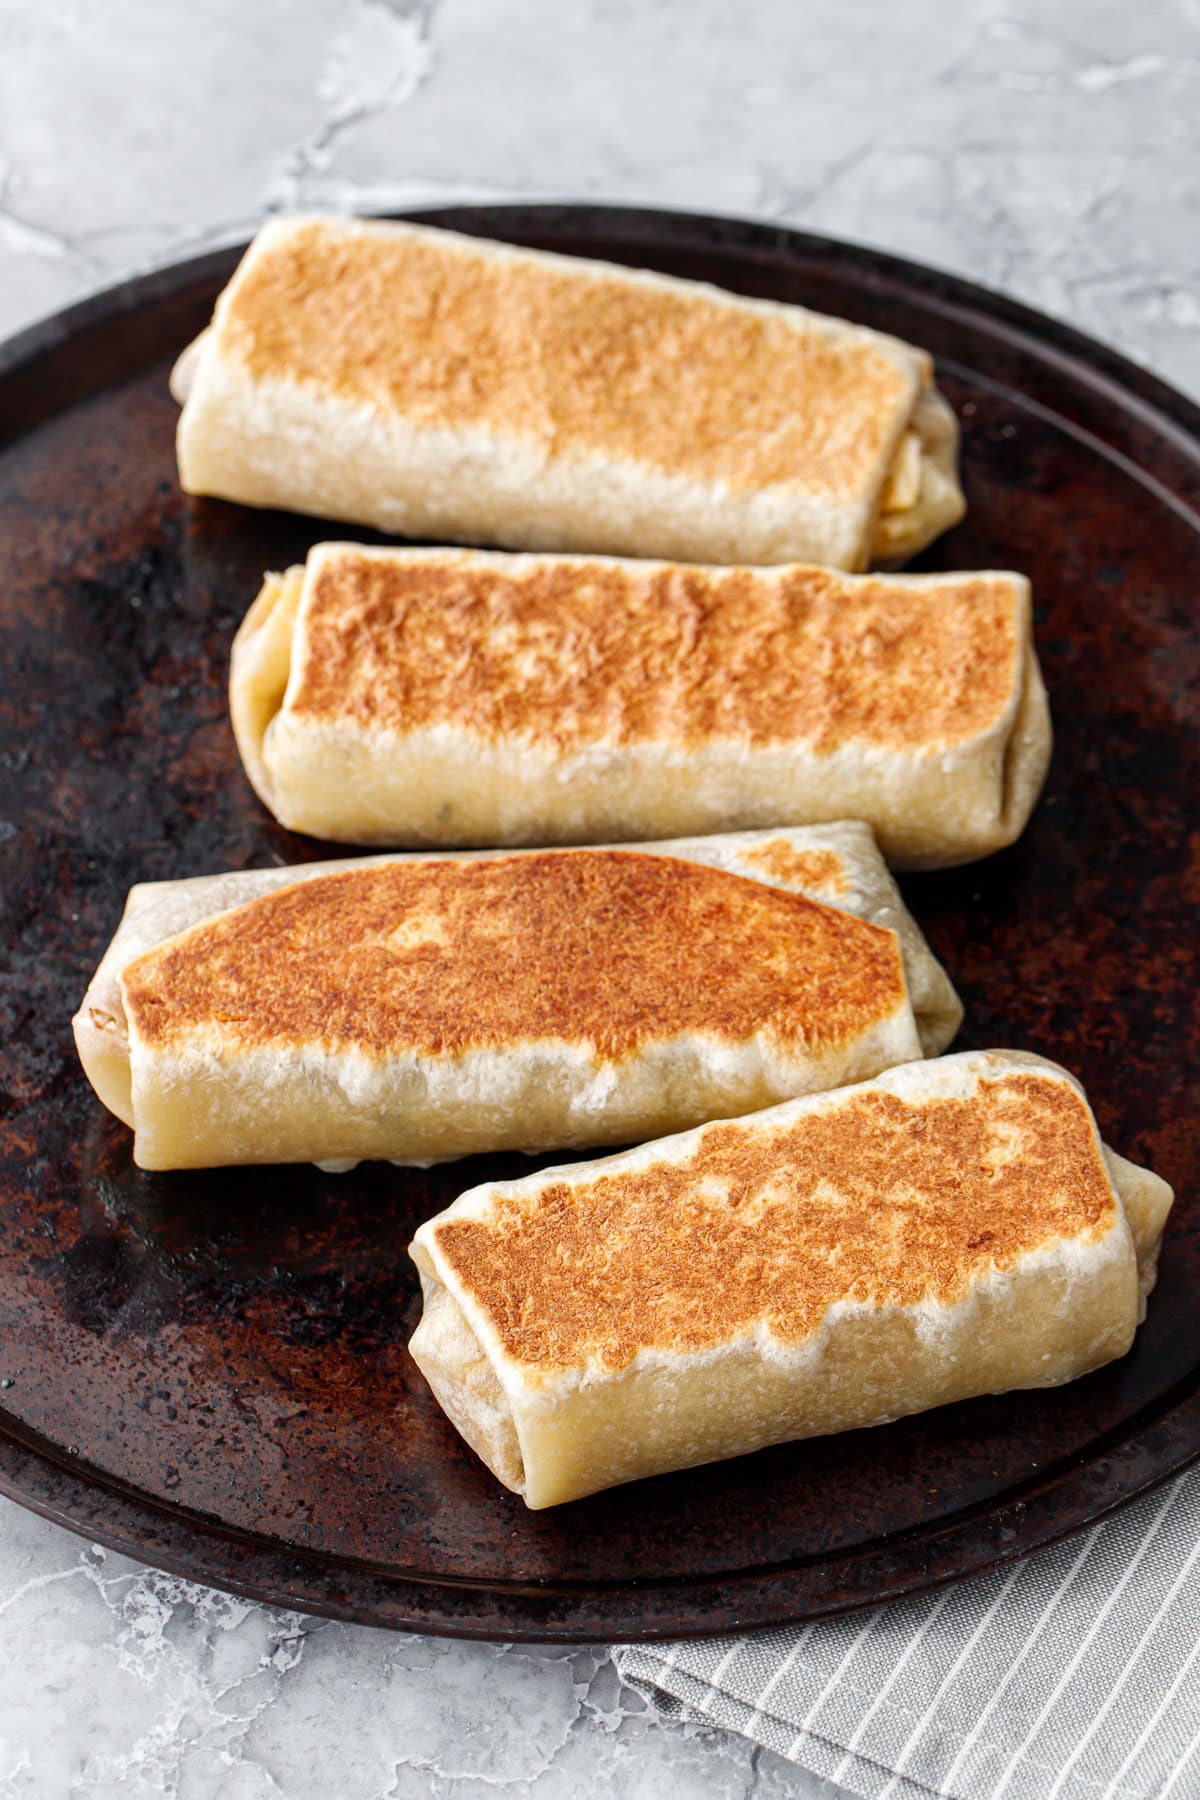
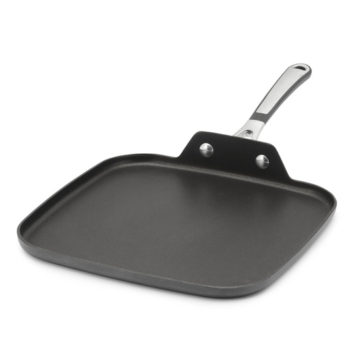
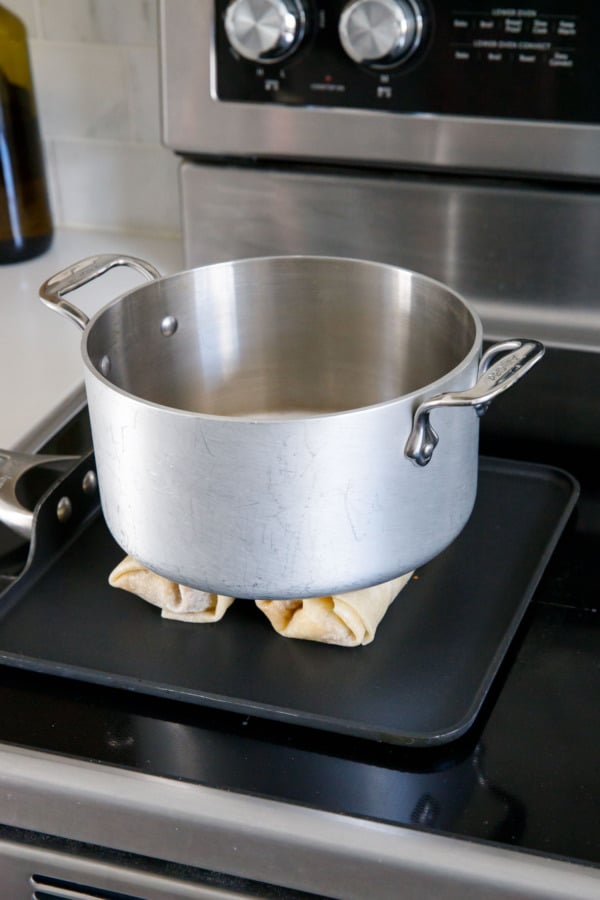
The trick to toasty, crispy burritos is to add a little bit of weight to them as they cook; we achieved this using a flat-bottomed saucepan that we set on top of the burritos as they cooked. This little bit of extra weight compresses the burritos, increasing the surface area and therefore the crunch (only the parts that are touching the pan will get crispy, afterall).
This extra step of toasting also serves to ‘seal’ the burrito closed; by starting with the seam side down on the hot surface, it essentially toasts the loose flap of the tortilla firmly in place, preventing the burritos from unraveling. Double bonus!
Flour Power
We used some amazing fresh flour tortillas from Maiz de la Vida in Nashville. Made with lard, they are especially delicious once toasted—crispy and light and oh-so-flaky, almost like thin puff pastry. If you have a local tortilla shop near you, you really can’t beat freshly made tortillas. You can also make lard-based flour tortillas from scratch if you’ve got the time (for this recipe you want to make extra large balls so they roll out at least 10″ in diameter—the thinner the better).
Otherwise, if you’re using store-bought you want to look for extra large, burrito-sized flour tortillas that are at least 10″ or larger. Smaller tortillas won’t hold much filling and will be much harder to wrap up into a tight, neat little package.
Whatever kind of tortillas you use, steaming them before rolling will make them softer and more pliable and therefore, much easier to roll up.

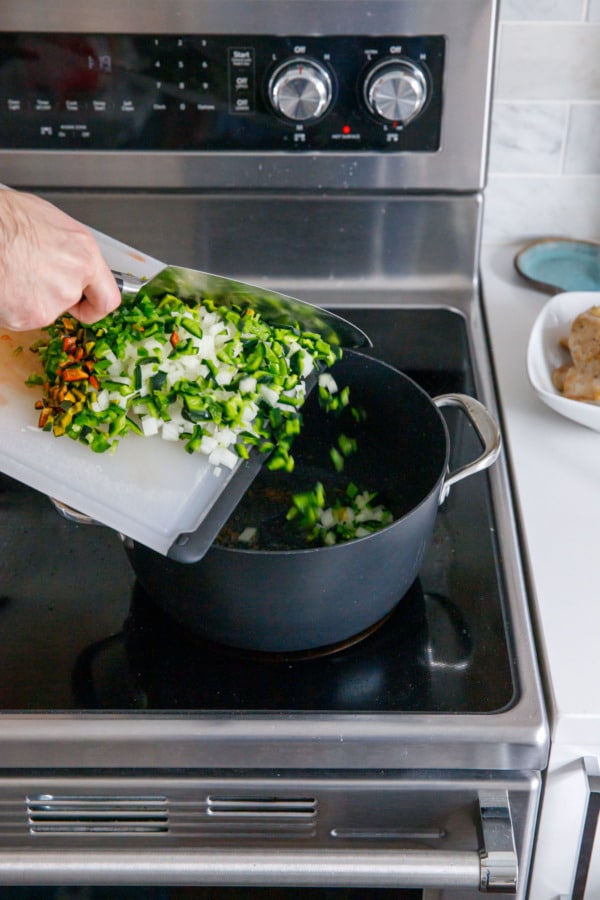
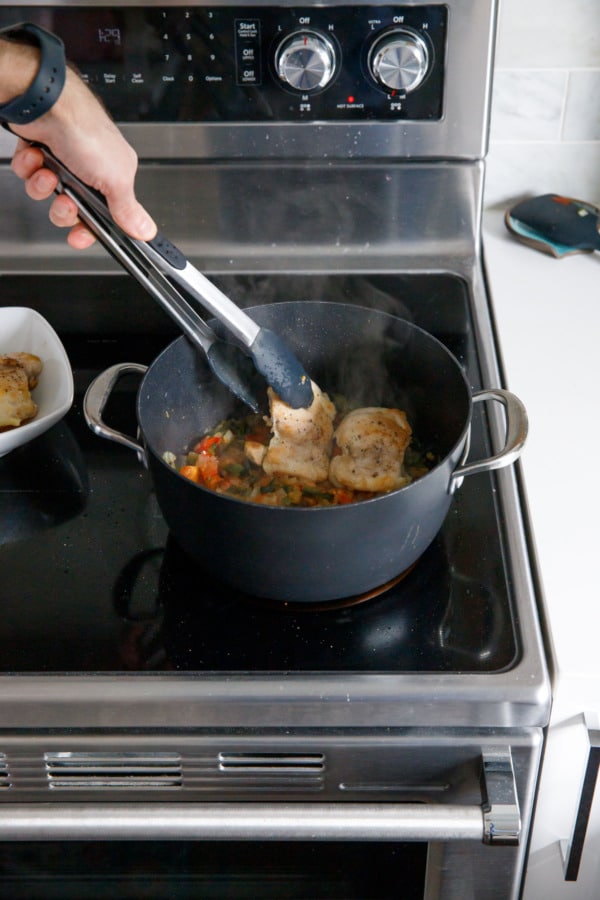

The chicken mixture is made from boneless skinless chicken thighs, cooked down in a saucy mixture with onion, poblano pepper, and chicken stock.
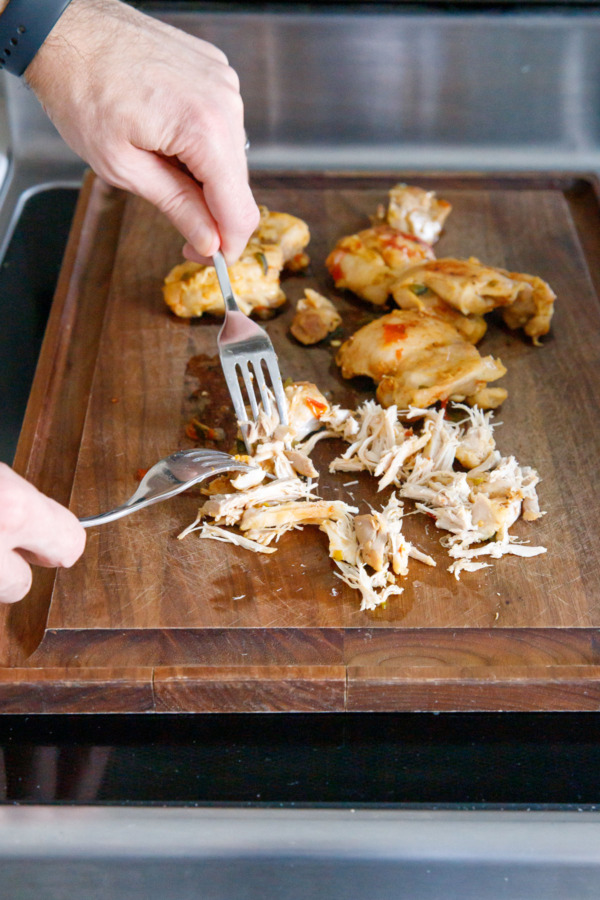
When the chicken is fall-apart tender, remove it from the sauce (keep the sauce simmering so it can reduce a bit), then shred the chicken using two forks to pull the meat apart.
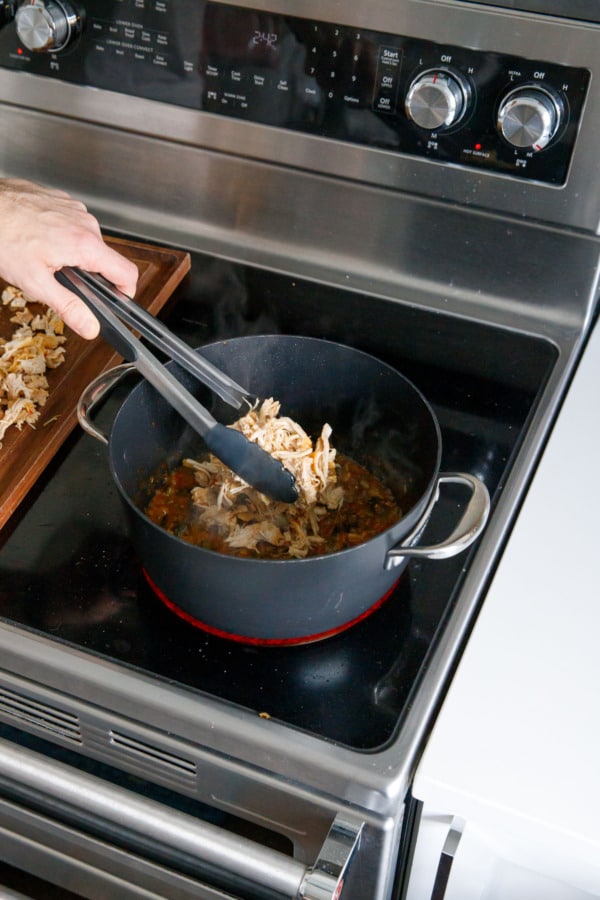
When the sauce has reduced, add the shredded chicken back to the pan and stir until evenly coated and heated throughout.
While we used boneless, skinless chicken thighs, you can use bone-in thighs too if you prefer (the filling will take a little longer to cook, but will be even more flavorful). Bone-in chicken breasts would be ok too (they’ll take even longer still because of the large size). I don’t recommend boneless breasts for this recipe.
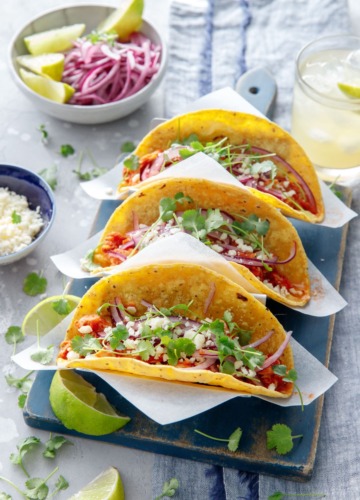
You can also use this filling for other things, maybe in some saucy chicken tacos or spread on top of a sheet pan of melty nachos even. It’s super flavorful thanks to the ample onion, poblano peppers, and moist dark meat chicken.
This is How I Roll
Wrapping burritos can be a bit tricky, but once you get the hang of it and figure out the right position and proportion of ingredients, you’ll be able to wrap them up in no time.
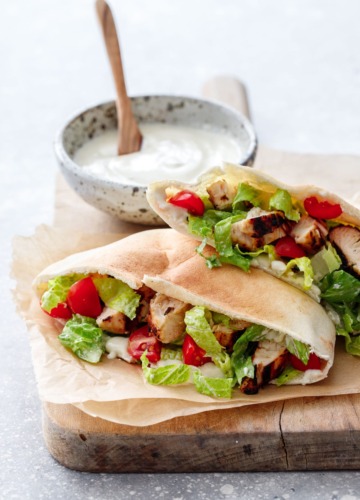
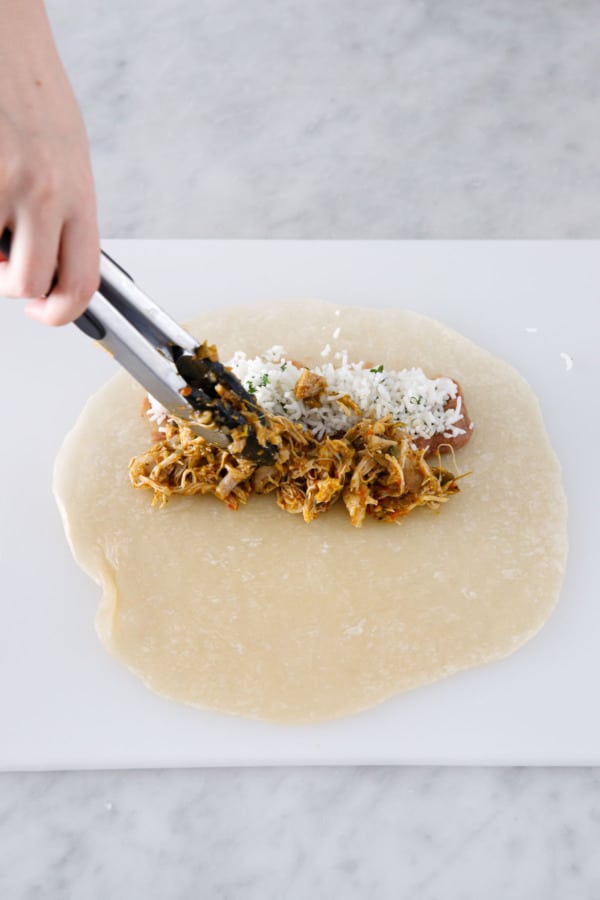
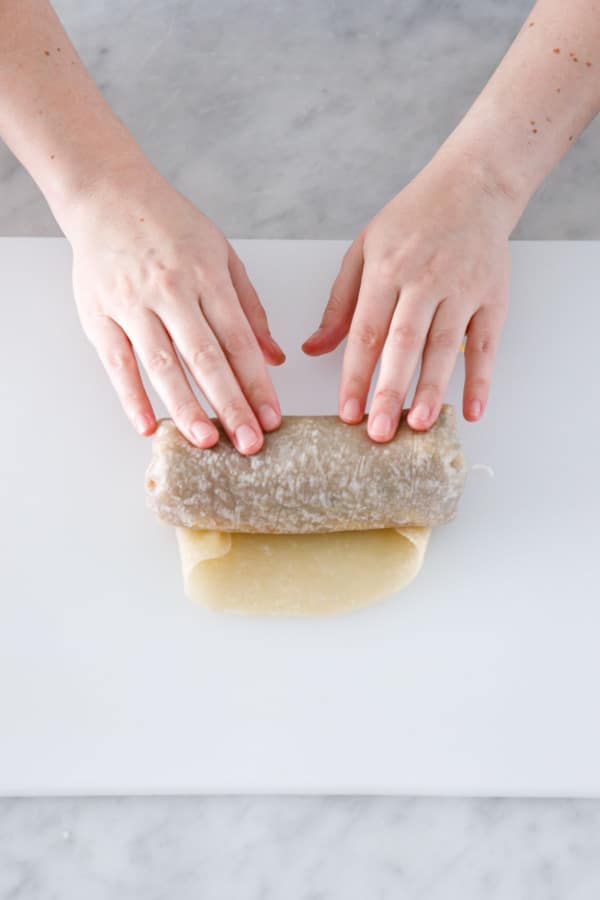
The technique is similar to what I used on these curried chicken salad wraps, spreading the ingredients in the bottom third of the tortilla (not right down the center like you’ve probably been doing). Then you can fold in the edges, securing the filling inside, and tuck and roll the tortilla tightly around the filling ingredients.
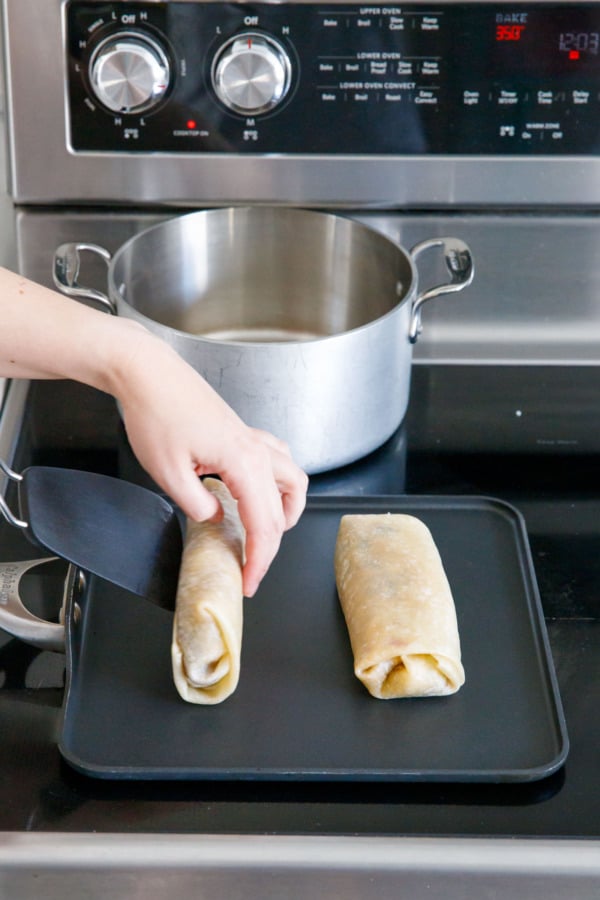
Once you’ve rolled up two burritos, place them seam side down on a pre-heated skillet or griddle pan.
I used a dry non-stick griddle pan to toast my burritos; the lard in the tortillas was more than enough fat to produce a perfectly crispy finish. If you’re using generic grocery store tortillas (which probably aren’t made with lard and thus a bit dryer overall), you can lightly brush them or your pan with a bit of vegetable oil before cooking.
Set a reasonably heavy (but not super heavy) flat-bottomed pan on top, which will compress and flatten the burritos, making more surface area available for toasting. They’ll need about 3 to 5 minutes a side or until deep golden brown and crispy.
Freezing & Reheating
These burritos are perfect for making ahead and freezing (you’ll never buy a dry, flavorless frozen burrito again!)
After toasting, let the burritos cool completely, then wrap individually in aluminum foil. Place wrapped burritos in a zip-top bag (labeled with the date and cooking instructions), then freeze for up to 6 months.
To reheat in the oven, place foil-wrapped burritos on a cookie sheet and bake at 350 degrees F for about 45 minutes or until heated through (stick a thermometer in the middle, it should read about 120-130 degrees F). Unwrap and discard foil and return to the oven for an additional 10 to 15 minutes or until crispy and least 135 degrees F in the center. Let cool slightly before eating.
You can also microwave frozen burritos. Remove foil and place on a plate. Microwave for about 2 to 3 minutes on high, flipping burritos half way through to ensure even cooking. The centers should register about 130 degrees F on an instant read thermometer.
Microwaved reheated burritos will be very soft and not at all crispy; for that reason I like to finish them in the oven for an additional 10 minutes or so to bring back the crispy exteriors. This hybrid method is a great way to reheat them much more quickly than just using the oven while still retaining the delightful crunch.
Crispy Chicken, Rice, & Bean Burritos
Ingredients
- 1 tablespoon vegetable oil
- 1.5 pounds boneless skinless chicken thighs
- 1 large onion, chopped (about 1 ½ cups chopped)
- 1 poblano pepper, chopped (about 1 cup chopped)
- 1 jalapeño pepper, seeded and finely chopped
- 2 tomatoes, cored and chopped
- 1 cup chicken stock
- salt and freshly ground black pepper, to taste
- 8 large flour tortillas
- ¾ cup basmati rice, cooked according to package instructions (should yield about 2 cups of cooked rice)
- ½ cup chopped fresh cilantro
- 1 tablespoon lime juice
- 1 15oz can refried beans
- 1 cup shredded cheese
- red or green salsa, for serving
Instructions
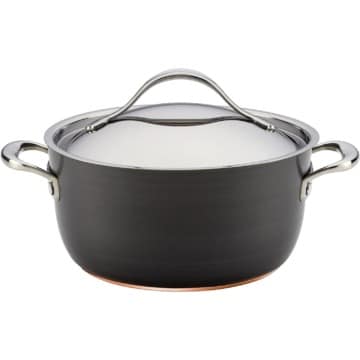
- Heat oil in a large heavy-bottomed saucepan or Dutch oven set over medium high heat.
- Add chicken thighs and let sit undisturbed for 3 to 4 minutes, then flip and cook an additional 3 to 4 minutes or until both sides are browned. The chicken won't be fully cooked at this point, that's fine, you just want it browned on both sides. Transfer to a bowl and set aside.
- Return saucepan to heat and add onion and peppers. Cook for about 5 minutes or until softened, then add tomatoes and cook, stirring occasionally, for another 5 minutes more.
- Return chicken to saucepan along with any juices that have collected in the bowl. Arrange in a single layer on top of softened vegetables.
- Add chicken stock and bring to a simmer. Reduce heat to low, partially cover and let simmer for 45 to 60 minutes or until chicken is very tender and almost falling apart.
- While chicken is cooking, prepare basmati rice according to package instructions. You can opt to use broth instead of water for more flavorful rice if you like, or tomato sauce or puree with some water to make red rice.
- Remove chicken and transfer to a cutting board. When slightly cooled enough to handle, shred chicken using two forks.
- Meanwhile, continue to simmer the vegetables and remaining liquid in the saucepan over medium heat, uncovered, until thickened, about 10 minutes.
- Return shredded chicken to sauce and stir to coat; remove from heat and set aside.
- When rice is done, fluff with a fork, then mix in chopped cilantro and a splash of lime juice, and season to taste with salt and pepper.
- Warm refried beans in a small saucepan. If they are too thick, you can thin with a little water or broth as needed. Season to taste.
- Preheat oven to 300 degrees F. Start warming a nonstick skillet or flat griddle over medium heat.
- Warm tortillas in the preheating oven draped with a damp tea towel or paper towel. Steaming them this way will soften them and make them more flexible and easier to roll.
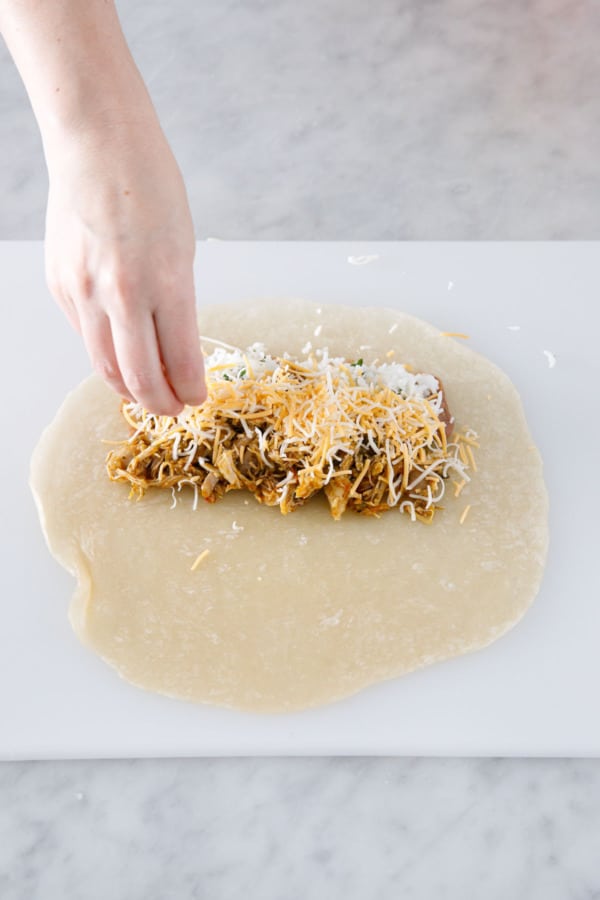
- To assemble, spread a few spoonfuls of refried beans onto the bottom third of a tortilla, leaving 1-2 inches of space open on the sides. Spread about 1/4 cup of rice on top. Spoon some shredded chicken mixture on top of that, followed by shredded cheese.
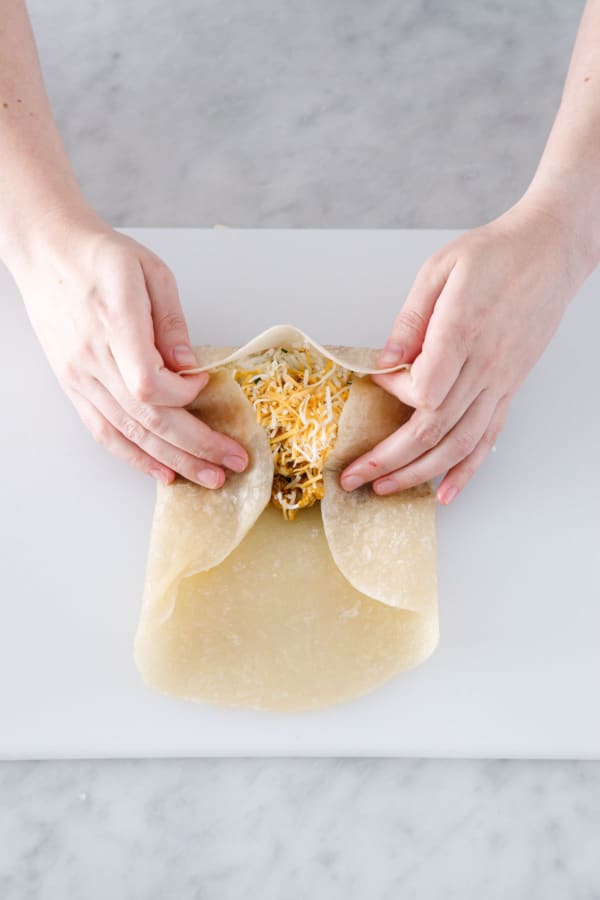
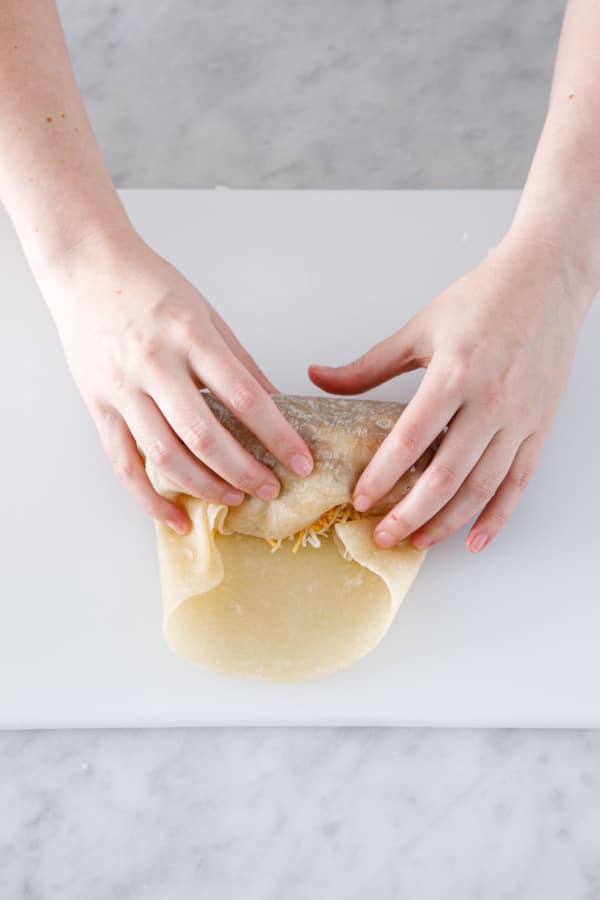
- To roll, fold in the bottom left and right edges on a slight diagonal, then start rolling from the bottom, using your hands to compact the filling and keep it contained in the tortilla. After one roll, start tucking in the left and right sides a few times as you roll up the rest of the way, keeping things as tight as possible.
- After you've rolled up two burritos, place them on skillet or griddle pan with the seam side down. Set a medium, flat-bottomed pot on top of the burritos to weigh them down slightly (this will help them get a larger surface area for toasting). Cook for about 3 to 5 minutes or until bottom is golden brown, then flip and cook for another 3 to 4 minutes or until both sides are browned and crispy. Transfer to a baking sheet and place in the oven to keep warm while you cook the remaining burritos.
- Serve warm with red and/or green salsa and sour cream. Let any leftover burritos cool before wrapping in foil to freeze and enjoy later (see Notes for reheating instructions).
Notes
- *To reheat frozen burritos in the oven, keep wrapped in foil and bake at 350 degrees F for about 45 minutes or until the center is 130 degrees F, then remove foil and bake for 5 to 10 minutes more or until crispy and heated through.
- **To reheat in the microwave, remove from foil and place on plate, then microwave on high for 2 to 3 minutes, flipping once halfway through. To get the crispness back, bake in a 350 degrees F oven (uncovered) for 5 to 10 minutes more or until crispy.